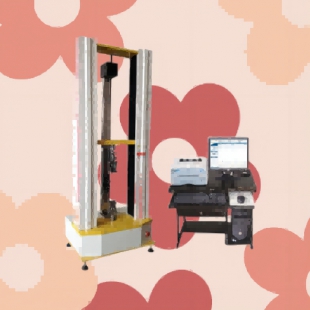
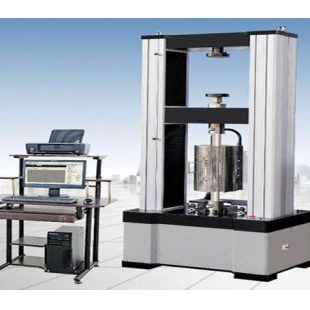
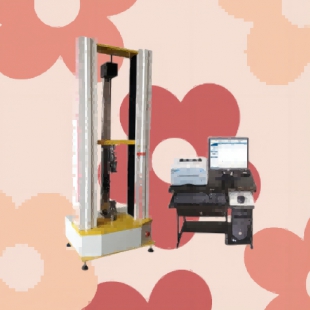
Microcomputer-controlled Electronic Universal Testing Machine i. 【Position Limit】――The test stops when it runs to the specified displacement;
1. 【Preload】――If checked, the test will pre-run according to the system-set force loading speed to the set preload force, then all data except the force value will be automatically zeroed before recording sampling values;
2. 【Displacement Zero】,【Deformation Zero】――Before running, automatically zero the displacement and deformation values.
3. 【Auto Return After Test】――After the test operation ends, it automatically returns to the initial force zero point; (check auto return according to test needs, generally no need to set auto return, such as hard specimens are strictly prohibited from setting auto return. If auto return is checked, you also need to set the auto return speed, which is also set according to actual needs.)
【Modification Plan】
1. In the【Test Plan Select/Edit】box, select the plan to be modified;
2. Modify the basic information of plan step 1 as needed, with specific function descriptions as above.
(Suggestion: Do not casually change the standard on which the plan is based, otherwise all user parameters and result parameters of the plan will be lost) Step 2: Speed Setting
Function: Set the control mode and details used in the test
Microcomputer-controlled Electronic Universal Testing Machine
Method:
1. In【Result Parameters】, select the parameter name;
2. In the unit, select the corresponding unit for the parameter;
3. 【Result Judgment】is optional according to test requirements. If checked, the software will automatically judge the calculated result; if the result value is less than the lower limit or greater than the upper limit, the result will be displayed as unqualified;
4. Click【Add】and the parameter information will be displayed in real-time in the list;
5. After adding parameters, click【Save】.
4) Enter the file name for saving test data; if not entered, the software has a default save file name;
5) In the software's "User Parameters" interface, enter user parameters such as specimen dimensions;
6) According to the specimen size, use the manual control box to adjust the position of the crossbeam, install the fixtures, set the limit switches, then adjust the crossbeam to a suitable position and zero the displacement in the software, set the current crossbeam position as the zero point (if auto return is needed, zeroing displacement is necessary), and zero the force sensor;
7) Clamp the specimen, attach the extensometer or large deformation device (if the test requires using an extensometer or large deformation);
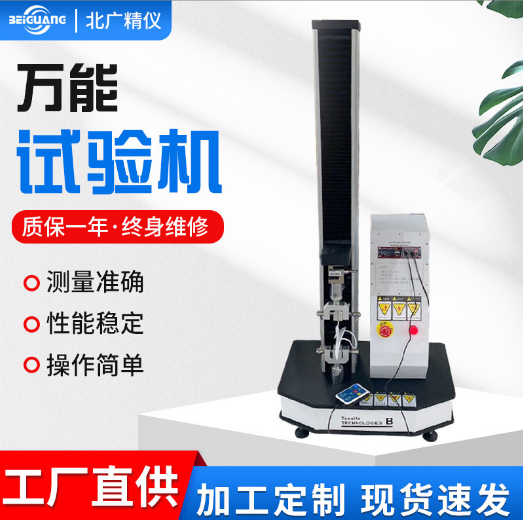
8) After confirming the test parameters are correct, press the run button on the manual control box or the software to start the test;
9) When reaching the extensometer switching point, remove the extensometer; (if using an extensometer for the test)
10) After the test ends, remove the specimen;
11) If continuing the test, repeat steps 6 to 10;
12) Generate the test report (refer to 3.3.11)
13) If not testing, go offline, exit the software, and shut down the computer;
14) Turn off the main power of the testing machine.
Note: Since different users order different models, and the usage methods and standards executed vary greatly, our company does not guarantee that every user's software includes all functions in this manual. Nor does it guarantee that every user's software is completely identical to the content in this manual.
Note: This manual is compiled based on the software developed at the time of publication. With continuous product improvement, the content may be modified in software produced after development. Modifications will not be notified separately. Thank you for your understanding!